Getting a passport photo for your baby or toddler might feel like mission impossible. After all, how do you convince a tiny human—who can’t sit still, doesn’t understand instructions, and may burst into tears at any second—to pose for an official document photo? But don’t worry, it’s completely doable with the right tricks, patience, and preparation. Let’s break it all down step by step in a way that’s simple, stress-free, and maybe even a little fun.
Why Baby Passport Photos Are Tricky
Taking a passport photo for a baby can feel like trying to solve a puzzle blindfolded. Unlike adults or older children, babies have no concept of instructions, which makes even the simplest task, like looking straight at the camera, a challenge. Their natural movements are unpredictable—arms waving, legs kicking, heads turning—so capturing a moment where everything aligns perfectly is often a matter of luck and timing. Even with the best setup, you may find yourself taking dozens of shots just to get one usable photo.
Another major challenge is the baby’s physical development. Many infants, especially newborns, can’t hold their heads up steadily on their own. This means parents often have to find creative ways to support the baby without it being visible in the final photo. Improper head support can result in tilted photos that don’t meet passport standards. Even small deviations, like a slight head turn or slouch, can lead to rejection, making it crucial to position the baby carefully and securely.
Then there’s the issue of expressions. Babies are masters of spontaneous facial changes—they can go from calm to crying in seconds, or blink just as you snap the shutter. Unlike adults, they can’t maintain a neutral expression on demand, which is a strict requirement for passport photos. A single blink or grimace can render an entire session useless, so timing and patience are key. Many parents find that multiple quick shots, taken in rapid succession, increase the chances of capturing the perfect expression.
Lastly, crying, fussing, or even simple fatigue can turn a straightforward photo session into a stressful ordeal. Babies are sensitive to their environment, so bright lights, strange sounds, or an unfamiliar camera lens can make them uncomfortable. Preparing the baby beforehand—ensuring they are well-fed, rested, and calm—can dramatically improve results. Understanding these challenges ahead of time allows parents to plan better, use practical tricks, and approach the process with patience rather than frustration, making the experience smoother for both baby and caregiver.
Passport Photo Rules You Must Follow
| Requirement | Description | Why It Matters | Common Mistakes to Avoid | Notes for Babies Under 1 Year |
| Neutral Expression | Baby should have a calm, natural face without smiling or frowning. | Ensures photo meets official passport standards. | Smiling, crying, or grimacing. | Slight variations are sometimes accepted. |
| Eyes Open and Visible | Both eyes must be clearly open and facing the camera. | Helps in identification and facial recognition. | Blinking, partially closed eyes, or looking away. | Slight eye closure is usually tolerated. |
| No Accessories | No hats, headbands, pacifiers, or toys in the frame. | Keeps the face fully visible for official use. | Including pacifiers or hats that cover the head. | Accessories may be removed or photos retaken. |
| Plain Background | Use a solid white or light-colored background without shadows or patterns. | Prevents distractions and ensures facial features stand out. | Wrinkled sheets, patterned blankets, shadows. | Baby can be laid on a blanket or sheet for support. |
| Face Centered and Fully Visible | Baby’s face should be centered with shoulders showing and head straight. | Ensures compliance with size and framing requirements. | Cropping too close, tilting the head, or off-center shots. | Support the head carefully if needed to maintain position. |
| High Resolution | Photo must be clear, not blurry, pixelated, or dark. | Maintains quality for official processing and printing. | Using low-quality cameras or zooming excessively. | Use a good smartphone or digital camera with adequate lighting. |
| No Shadows or Glare | Even, natural lighting with no shadows on the face or background. | Ensures clear visibility of facial features. | Direct flash, uneven lighting, or window shadows. | Use soft natural light or reflectors to reduce shadows. |
What You’ll Need Before Taking the Photo
Preparing everything in advance can make taking a baby passport photo much smoother and less stressful. Here’s a detailed list of everything you’ll need to get started:
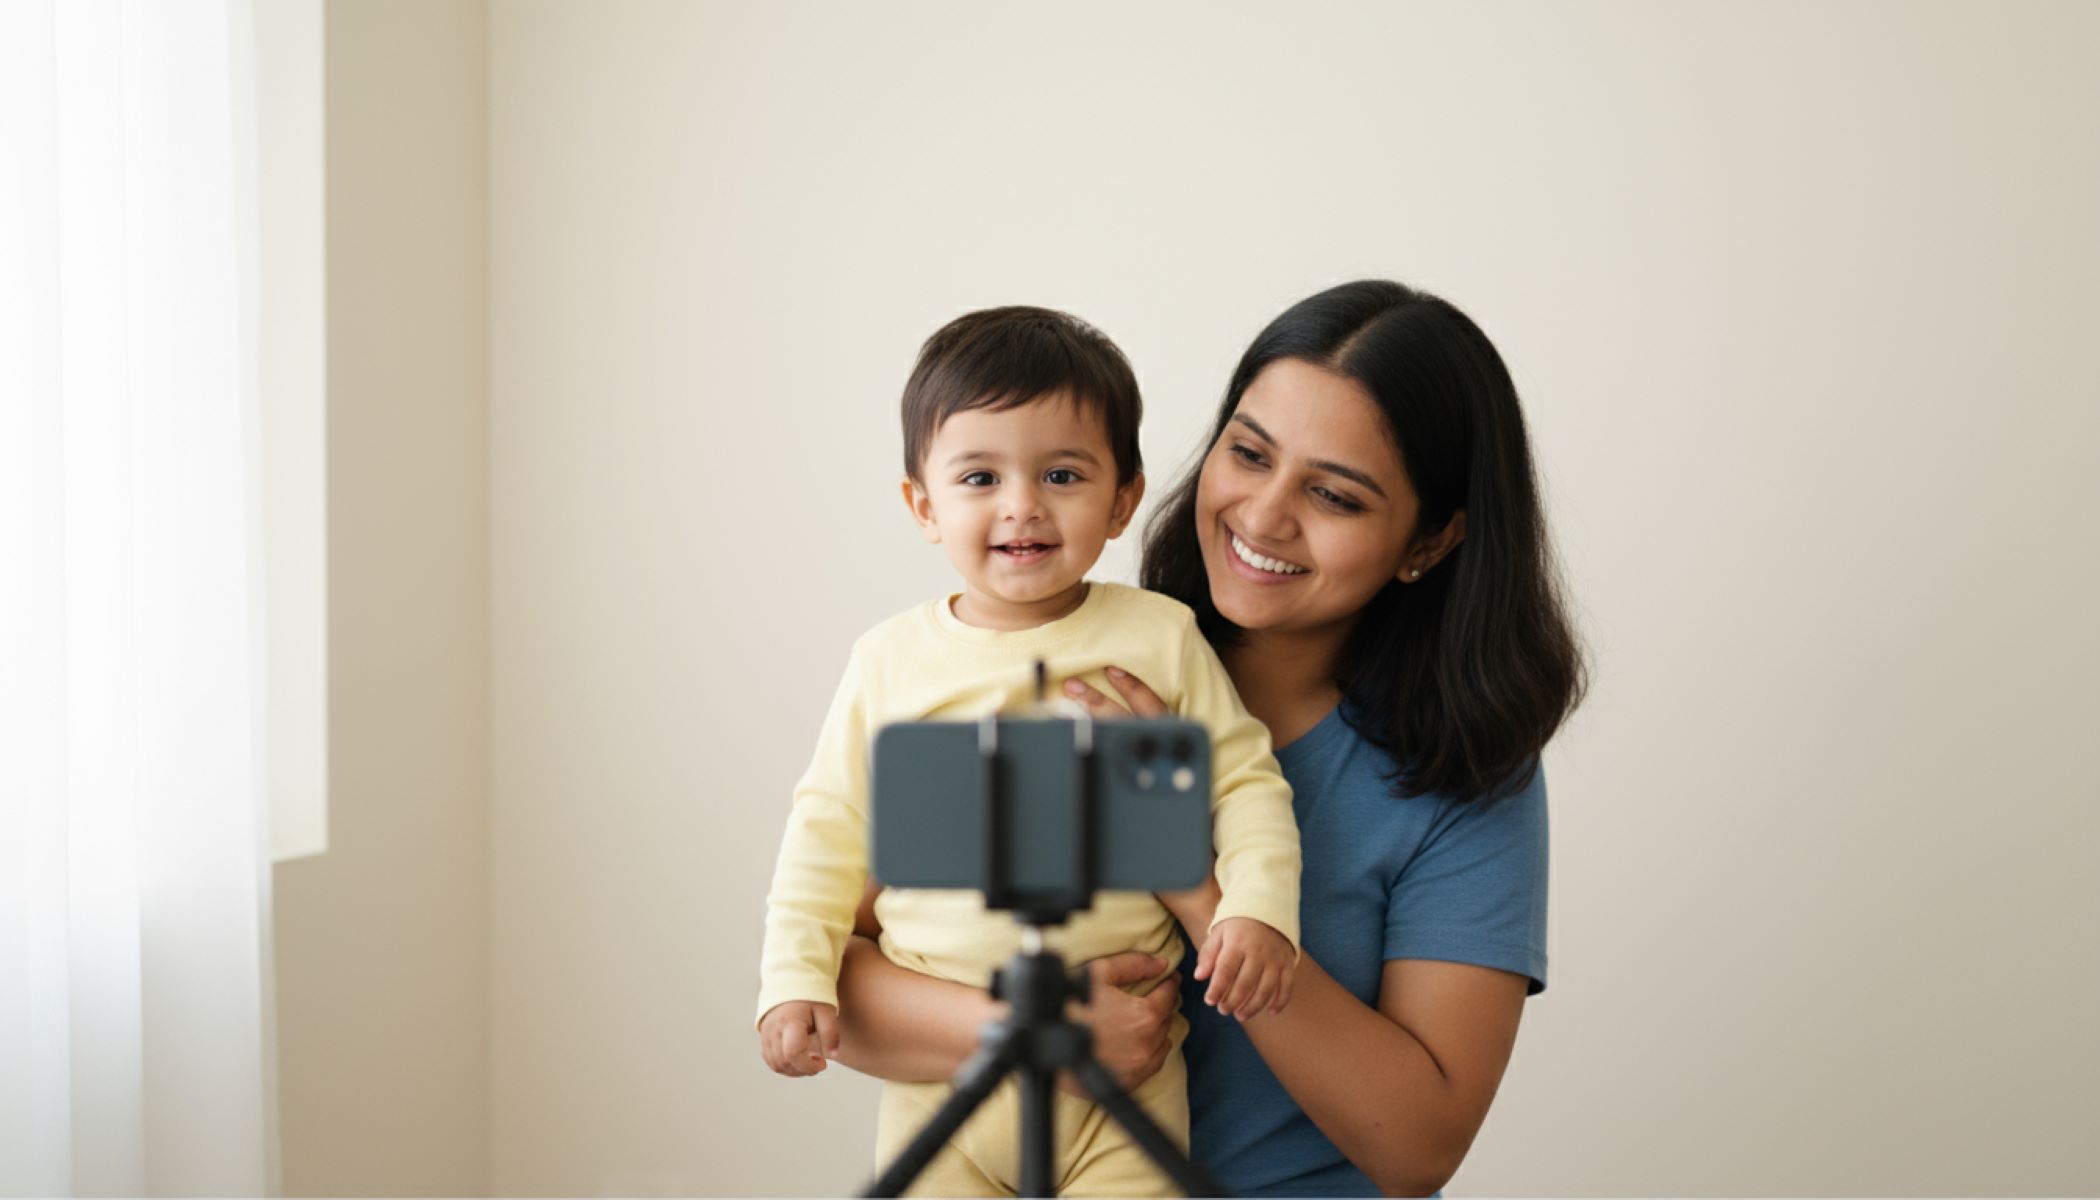
- A High-Quality Camera or Smartphone – Make sure your device has a good resolution and can capture clear, sharp images. Blurry or pixelated photos are automatically rejected for passports. A modern smartphone or digital camera works best, and it’s helpful if your camera can take multiple shots in quick succession to capture the perfect moment.
- Plain White Background – A solid, light-colored background is essential. You can use a plain white sheet, blanket, or poster board. Make sure it’s wrinkle-free and large enough to cover the entire frame behind your baby. Avoid any patterns, textures, or objects that could create shadows or distract from the face.
- Bright, Natural Light – Lighting is critical for passport photos. Use soft, natural light from a window or an evenly lit room. Avoid direct sunlight or harsh artificial lights that create shadows or glare. If needed, a second white sheet can act as a reflector to reduce shadows on your baby’s face.
- A Second Person for Assistance – Having another adult on hand can make positioning your baby much easier. They can help hold the baby upright, keep them calm, or engage their attention to look at the camera. This is especially useful for infants who can’t sit up on their own yet.
- A Calm, Well-Rested, and Fed Baby – Timing is everything. Try to take the photo after a nap and feeding, when your baby is alert and in a good mood. A happy, comfortable baby is more likely to stay still and look toward the camera, increasing your chances of getting a usable shot.
- Soft Support or Props (Optional) – For newborns or very young infants, a small rolled-up towel or blanket under the baby’s head can provide gentle support. Ensure any props are completely covered by the background so they don’t appear in the final photo.
- Patience and Plenty of Shots – Babies are unpredictable, so be prepared to take multiple photos to get the right one. The more options you have, the higher the chance of capturing a clear, neutral expression with both eyes open.
- Editing Tools (Optional) – Once you’ve taken the photo, you may need simple cropping or brightness adjustments. Use apps or software approved for passport photos to ensure the image meets official size and quality standards without over-editing.
Best Time of Day to Take Baby Passport Photos
Choosing the right time of day to take a baby passport photo can make the difference between a smooth session and a stressful ordeal. Babies have natural rhythms, and their mood, energy, and patience fluctuate throughout the day. Capturing the photo when your baby is at their happiest and calmest greatly increases your chances of getting a usable shot on the first try. Planning around these natural windows of calm and alertness can save you time and frustration.
One of the most effective strategies is to schedule the photo session after a nap. Babies who are well-rested are generally more cooperative, less fussy, and more likely to stay still long enough for a proper photo. Trying to take a passport photo when your baby is sleepy or overtired often results in tears, closed eyes, or cranky expressions, making it extremely difficult to meet the strict requirements for official documents. A fresh, alert baby is much easier to position and photograph.
Another important factor is timing around feeding. Hungry babies are almost never in the mood for a photo shoot. Waiting until after a feeding ensures your baby is content and comfortable, reducing the likelihood of crying or fussing. A well-fed baby is calmer, more focused, and easier to engage, which helps when you need them to look toward the camera or hold a neutral expression. This is especially crucial for infants who cannot yet follow instructions—they rely on comfort cues to stay cooperative.
Finally, consider your baby’s natural alertness and mood cycles. Some babies are happiest and most engaged in the morning, while others may peak later in the day. Observing your child’s individual patterns can help you identify their “sweet spot” for taking photos. Think of it as scheduling a mini photo session during their happiest window—when they are calm, content, and more likely to cooperate. By carefully choosing the right time, you reduce stress, increase the chances of a perfect shot, and make the entire process much more manageable for both you and your baby.
Setting Up the Background
| Step | Description | Why It Matters | Common Mistakes to Avoid | Tips & Tricks |
| Lay Baby on a Plain White Sheet or Blanket | Place your baby on a smooth, solid-colored surface. | Provides a clean, distraction-free background required for passport standards. | Using patterned blankets or colored sheets. | Ensure the sheet is large enough to cover the entire frame. |
| Smooth Out Wrinkles | Remove any folds or creases from the sheet or blanket. | Prevents shadows or lines that could make the photo non-compliant. | Leaving wrinkles that create uneven lighting. | Use a flat surface or gently stretch the sheet for smoothness. |
| Cover Entire Frame | Make sure the background fully fills the camera’s frame behind the baby. | Ensures no edges or objects appear, keeping the focus on the baby’s face. | Background edges or furniture showing. | Adjust the camera angle or sheet placement to cover edges. |
| Alternative Setup: Poster Board | Tape a plain white poster board to a wall and position toddler in front. | Allows upright photos for toddlers who can sit or stand. | Wrinkled poster boards, visible tape, or shadows. | Ensure even lighting; have a helper hold the child safely if needed. |
| Check Lighting on Background | Ensure the background is evenly lit without shadows or glare. | Shadows can distort facial features and may cause rejection. | Harsh sunlight, uneven artificial lighting. | Use natural light from a window or a reflector to soften shadows. |
Lighting Tips for a Perfect Shot
Proper lighting is one of the most important factors when taking a baby passport photo. It ensures that the baby’s facial features are clear, the photo meets official standards, and there are no shadows or glare that could cause rejection. Here’s a detailed checklist for lighting your baby passport photo perfectly:
- Use Natural Light Whenever Possible – Natural daylight provides the softest and most even lighting, which is ideal for capturing a baby’s face. Position your baby near a large window during the day, ensuring that the light falls evenly across their face without causing harsh shadows or overexposure.
- Avoid Overhead and Harsh Artificial Lights – Ceiling lights or strong lamps can create unflattering shadows on your baby’s face, under the chin, or on the background. Shadows may make the photo non-compliant for passport standards and reduce clarity. Instead, rely on diffused natural light or indirect lamps for a more uniform look.
- Face the Light Source – Always position your baby so that the light hits their face evenly. The goal is to illuminate both eyes and avoid any shadowing that can obscure facial features. For lying-down setups, adjust the camera angle so it is directly above and aligned with the baby’s face to capture light evenly.
- Use Reflectors to Reduce Shadows – If you notice minor shadows on the baby’s face or background, a simple trick is to place a second white sheet or light-colored surface opposite the main light source. This acts as a reflector, bouncing light back onto the baby and softening shadows. Even a piece of white cardboard or poster board can work effectively.
- Check for Glare and Bright Spots – Make sure there are no bright reflections on the baby’s skin or the background. Glare can happen when using glossy surfaces or direct sunlight. Adjust the baby’s position or use a sheer curtain to diffuse sunlight, creating an even, flattering light for the photo.